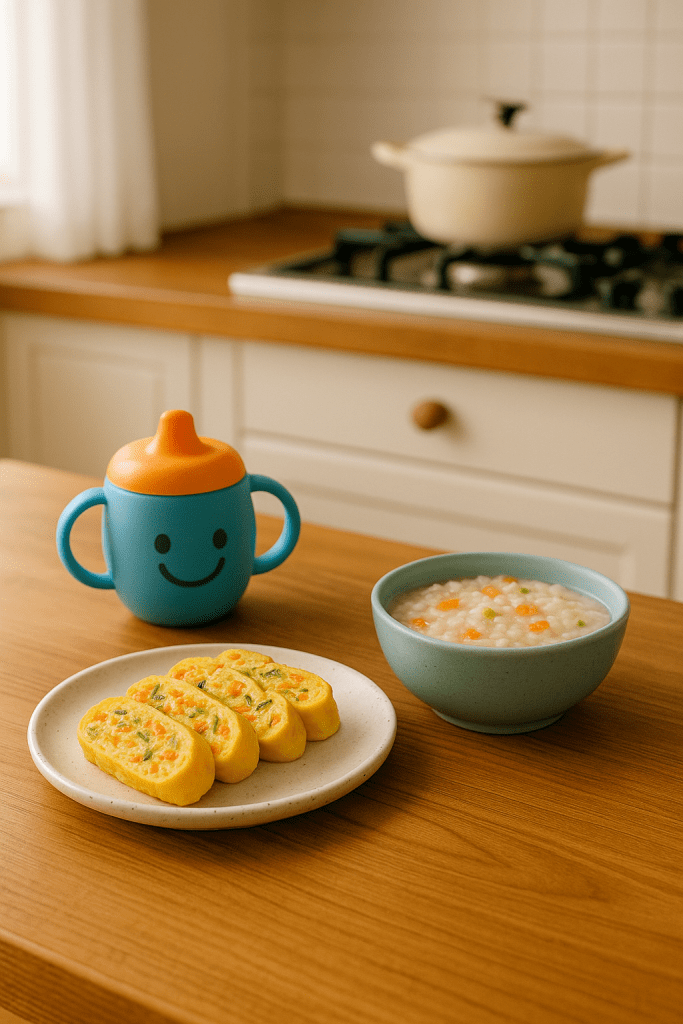
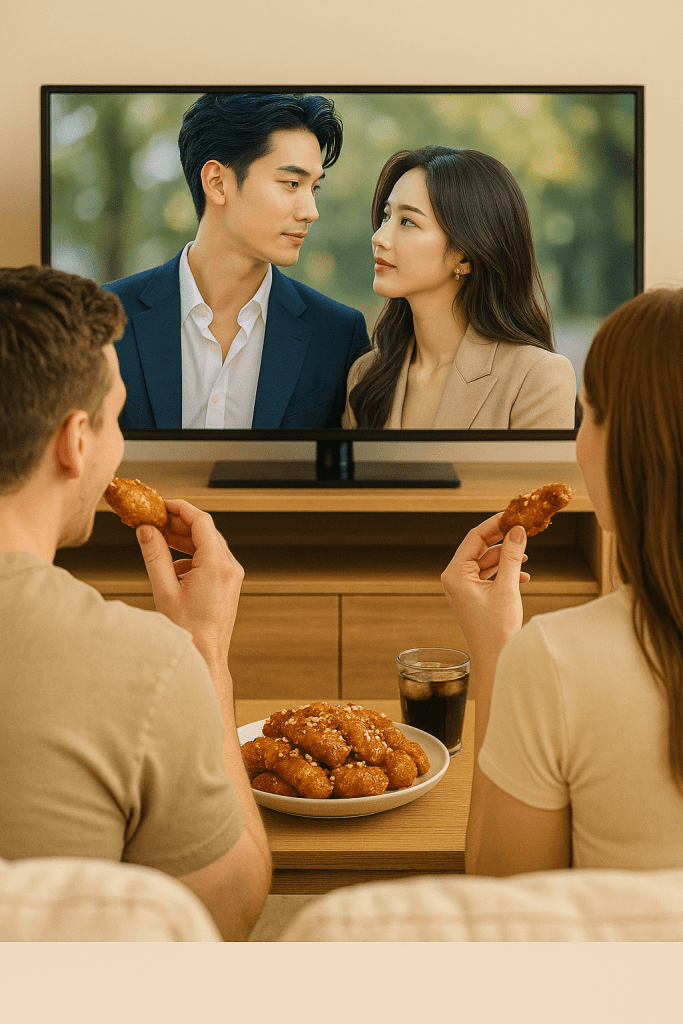
Sugar-Free Banana Milk & Mini Brownie

BTS Jungkook’s favorite banana milk —
now you can enjoy it at home without any sugar!
The natural sweetness of banana meets rich chocolate brownies,
creating a sweet yet light homemade café dessert set.
BTS 정국이 즐겨 마셨던 바나나 우유,
이젠 설탕 없이도 집에서 건강하게 즐길 수 있어요.
바나나의 자연 단맛과 진한 초코 브라우니가 만나
달콤하지만 속은 편한 홈카페 세트를 완성했습니다.
🍌 Sugar-Free Banana Milk Recipe
🍌 무설탕 바나나 우유 레시피
Prep Time: 5 minutes | Servings: 2 cups
준비 시간: 5분 | 분량: 2컵
Ingredients / 재료

- 2 ripe bananas (about 220g, peeled) / 잘 익은 바나나 2개 (약 220g, 껍질 제거)
- 360ml milk (or almond/oat/coconut milk) / 우유 360ml (또는 아몬드/오트/코코넛 밀크)
- ½ tsp vanilla extract (optional) / 바닐라 익스트랙 1/2작은술 (선택)
- A pinch of salt (optional, enhances sweetness) / 소금 한 꼬집 (선택, 단맛 강화용)
- 1 cup ice (optional) / 얼음 1컵 (선택)
Instructions / 만드는 법
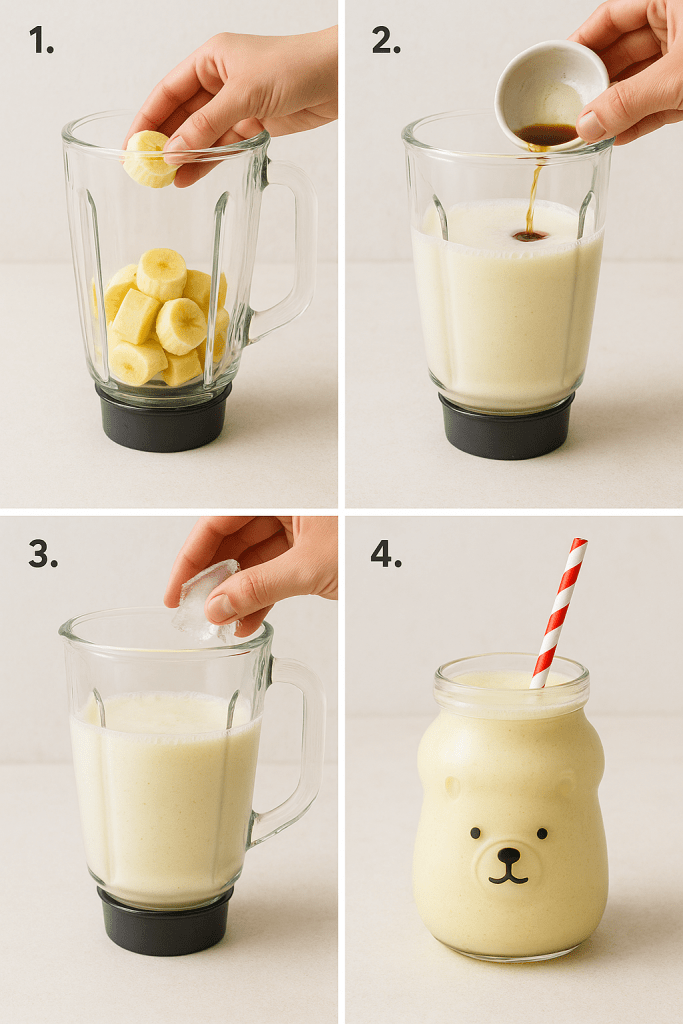
- Slice bananas and place them in a blender.
바나나를 적당히 썰어 블렌더에 넣습니다. - Add milk, vanilla extract, and salt. Blend for 30 seconds.
우유, 바닐라 익스트랙, 소금을 넣고 30초간 곱게 간다. - Add ice and blend for another 10 seconds until smooth.
얼음을 넣고 10초 더 갈아 부드럽게 만듭니다. - Pour into a cute bear-shaped cup and enjoy immediately.
귀여운 곰돌이컵에 따라 바로 마십니다.
🍫 Mini Chocolate Brownie Recipe
🍫 미니 초코 브라우니 레시피
Prep Time: 15 minutes | Servings: 4 pieces
준비 시간: 15분 | 분량: 4개
Ingredients / 재료

- 1 ripe banana / 바나나 1개 (잘 익은 것)
- 2 tbsp cocoa powder / 코코아파우더 2큰술
- 1 egg / 계란 1개
- 2 tbsp almond flour (or whole wheat flour) / 아몬드가루 2큰술 (또는 통밀가루)
- ¼ tsp baking powder / 베이킹파우더 1/4작은술
- A few pieces of dark chocolate (optional) / 다크초콜릿 조각 약간 (선택)
Instructions / 만드는 법
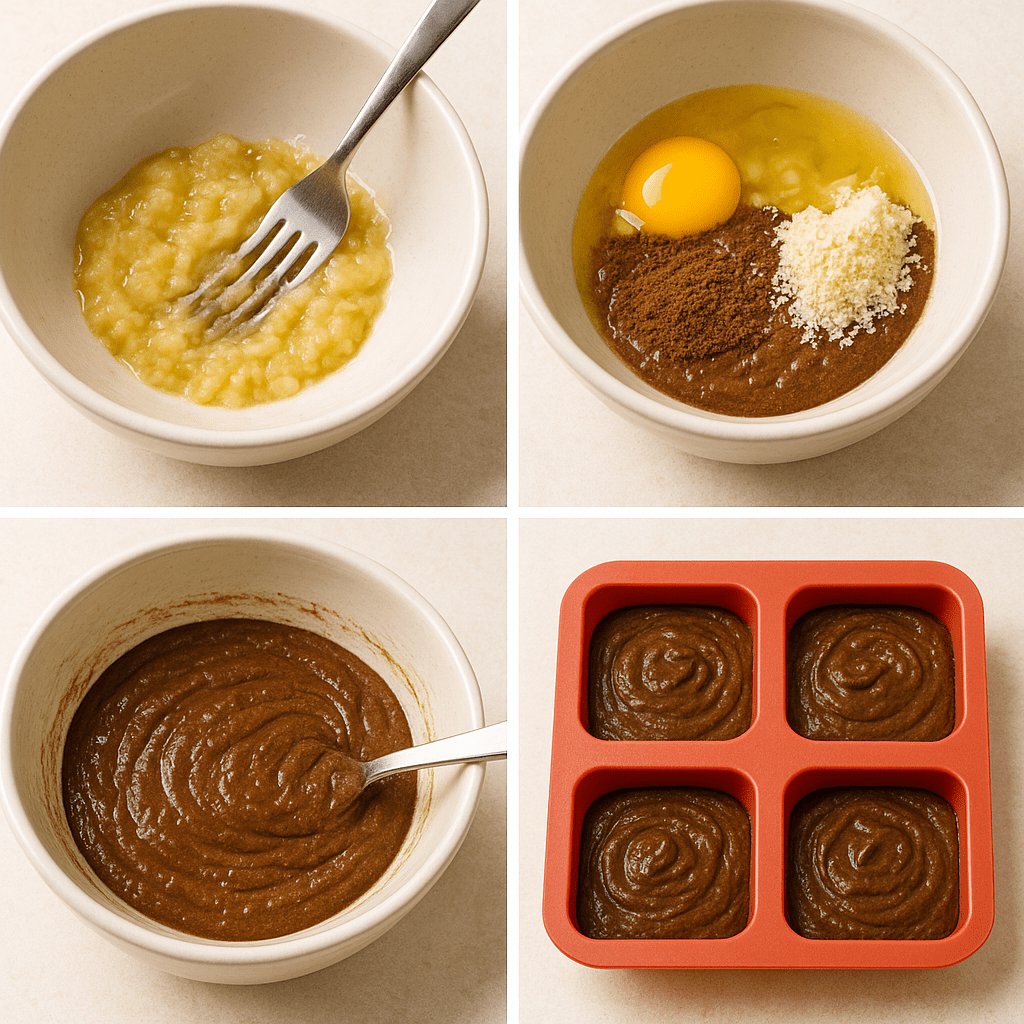
- Mash the banana with a fork, then mix with the egg.
바나나를 포크로 으깨고 계란을 넣어 섞습니다. - Add cocoa powder, almond flour, and baking powder. Mix until smooth.
코코아파우더, 아몬드가루, 베이킹파우더를 넣고 잘 섞습니다. - Pour the batter into a square silicone mold and microwave for 1½ minutes.
반죽을 사각 실리콘 틀에 나누어 담고 전자레인지에 1분 30초 돌립니다. - Place dark chocolate pieces on top and let the residual heat melt them.
다크초콜릿 조각을 위에 올려 여열로 녹입니다.
🌿 Flavor Tips & Science / 풍미 포인트와 원리
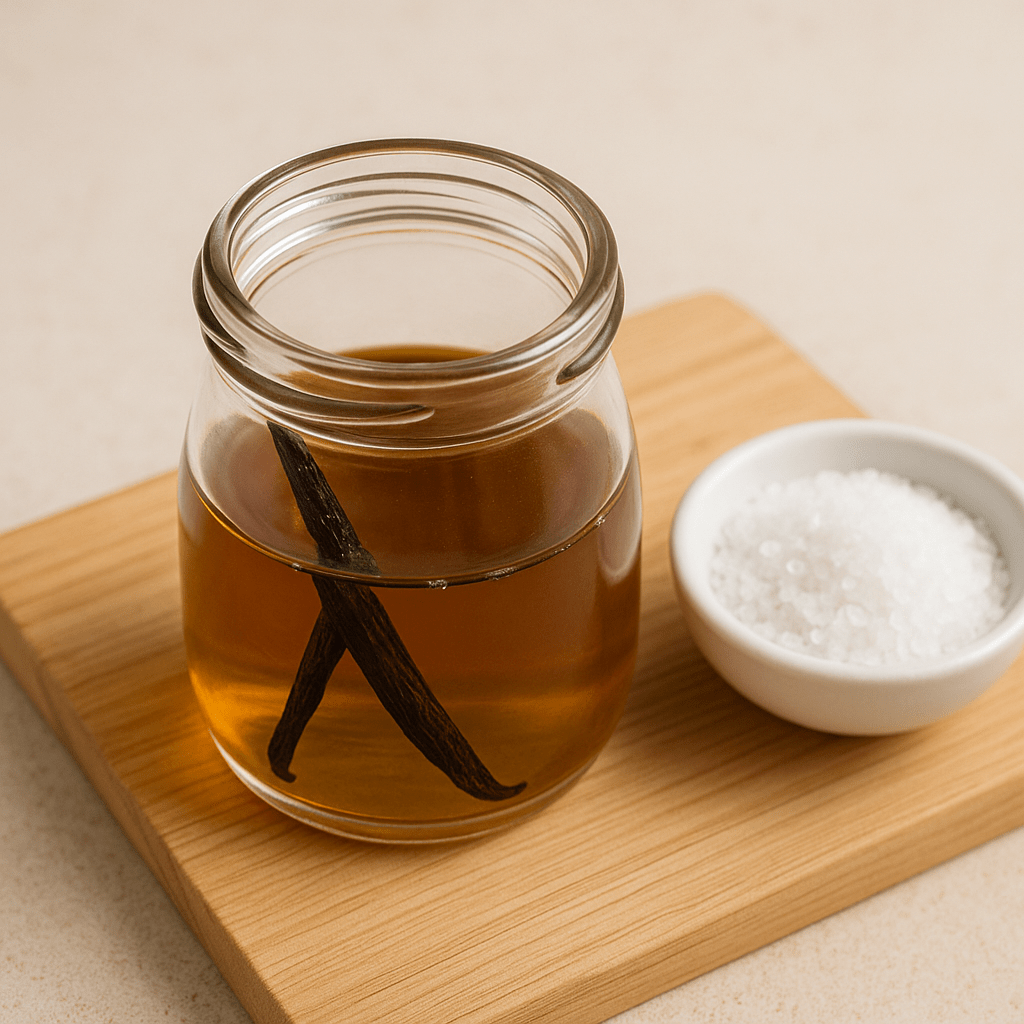
Vanilla extract enhances the perceived sweetness by activating your smell and taste receptors, even without sugar.
바닐라 익스트랙은 향과 미각을 동시에 자극해 설탕 없이도 단맛을 더 풍부하게 느끼게 해줍니다.
*Vanilla extract is a natural flavoring made by soaking vanilla beans in alcohol to draw out their aromatic compounds.
Its main component, vanillin, enhances sweetness and depth of flavor even without adding sugar.
It’s commonly used in baking, desserts, and drinks to give a warm, rich aroma.
A small amount (just a few drops or ½ teaspoon) is enough to make recipes taste more balanced and naturally sweet.
📌 Tips / 주의사항
Too much can cause bitterness — start small.
Natural extract (alcohol-based) is stronger than alcohol-free types.
. Alcohol-free extract may require 1.5× more for the same aroma. 무알코올형은 같은 향을 내려면 약 1.5배 더 넣어야 합니다. 👉 Standard: ¼ tsp for drinks, 1 tsp for desserts. 👉 기준: 음료는 ¼작은술, 디저트는 1작은술이 표준이에요.
A pinch of salt helps balance bitterness and boosts sweetness through contrast enhancement.
소금 한 꼬집은 쓴맛을 중화하고 단맛을 강조하는 ‘미각 대조 효과’를 만들어냅니다.
🧠 Nutrition Highlights / 영양 포인트
🍌 Banana Milk — Rich in potassium and vitamin B6 for energy and muscle recovery.
칼륨과 비타민 B6가 풍부해 피로 회복과 근육 기능 유지에 도움을 줍니다.
🍫 Brownie — Provides protein, healthy fats, and antioxidants from cocoa and almonds.
단백질, 건강한 지방, 코코아의 항산화 성분이 함께 들어 있습니다.
💪 Together, they form a balanced snack with natural carbs, protein, and fats.
탄수화물·단백질·지방이 균형을 이루는 포만감 있는 간식 세트입니다.
🇰🇷 The Story of Korean Banana Milk / 바나나우유 이야기
In Korea, banana milk is more than a drink — it’s a piece of nostalgia.
한국에서 바나나우유는 단순한 음료가 아니라 추억의 상징이에요.
Launched in 1974 by Binggrae, it made the luxury fruit banana accessible to everyone.
1974년 빙그레 바나나맛 우유가 처음 출시되어, 귀하던 바나나를 누구나 즐길 수 있게 했습니다.
Its unique round bottle design became an icon, and even today it’s found in every convenience store.
독특한 항아리형 병 디자인은 세대를 넘어 사랑받으며 지금도 전국 어디서나 볼 수 있습니다.
Recently, the “Prince Binggraeus” campaign revived its charm for younger fans worldwide.
최근에는 ‘빙그레우스 왕자’ 마케팅으로 젊은 세대에게 다시 사랑받고 있습니다.
💛 Korean banana milk isn’t just a drink — it’s a warm taste of memory shared across generations.
💛 한국의 바나나우유는 단순한 음료가 아닌, 세대를 잇는 감성 간식입니다.